Consumer Electronics
•03 min read

<p><strong>Effortless Performance</strong><br /> <br /> The sabichi Mono 24cm Whisk is designed for smooth and efficient whisking. Its polished stainless-steel wires and narrow shape ensure even blending and make it ideal for small bowls or containers. From whipping meringues to beating eggs, this whisk brings ease to every task.<br /> <br /> <br /> <strong>Versatile Whisking Tool</strong><br /> <br /> Whether you're blending batters, keeping lumps out of sauces, or creating airy meringues, this 24cm whisk is up to the challenge. It’s a kitchen essential that adapts to various culinary needs with precision and consistency.<br /> <br /> <br /> <strong>Safe for All Cookware</strong><br /> <br /> The whisk is gentle on all surfaces, including non-stick, ceramic, and metal cookware. You can whisk worry-free without scratching or damaging your kitchenware. This ensures long-lasting durability for your pots and pans.<br /> <br /> <br /> <strong>Ergonomic Design</strong><br /> <br /> Featuring an innovative handle with a soft, comfortable grip, this whisk absorbs pressure for strain-free usage. Its contoured shape ensures a secure hold, even during prolonged whisking tasks, for an effortless cooking experience.<br /> <br /> <br /> <strong>Convenient Storage</strong><br /> <br /> Equipped with a handy hanging loop, the whisk offers easy storage. It’s always within reach while saving counter and drawer space, making it as practical as it is efficient.</p>
Setting up Node.js and npm on your Mac can seem daunting, but it doesn’t have to be. Whether you are a beginner or an experienced developer, a smooth npm installation ensures you can build, manage, and deploy projects efficiently. In this guide, we will provide clear, step-by-step answers to frequently asked questions about installing npm on Mac. By reading this, you will learn how to install npm in Mac, verify your installation, and troubleshoot common issues, all at your own pace.
Node.js is a powerful runtime that allows you to run JavaScript outside the browser. npm, the Node Package Manager, is essential for managing the packages and libraries you need to build modern applications. For macOS users, npm is a must-have tool that simplifies managing project dependencies.
Before you begin, make sure your macOS version is compatible with the latest Node.js releases. Since npm is bundled with Node.js, you must install Node.js first. This also ensures that you benefit from seamless NeuCoins rewards and other exclusive benefits available on Tata Neu when shopping for top tech gadgets and accessories.
This is a straightforward method:
Download the latest Node.js .pkg installer from the official Node.js website.
Run the installer and follow the on-screen instructions. Node.js and npm will be installed automatically.
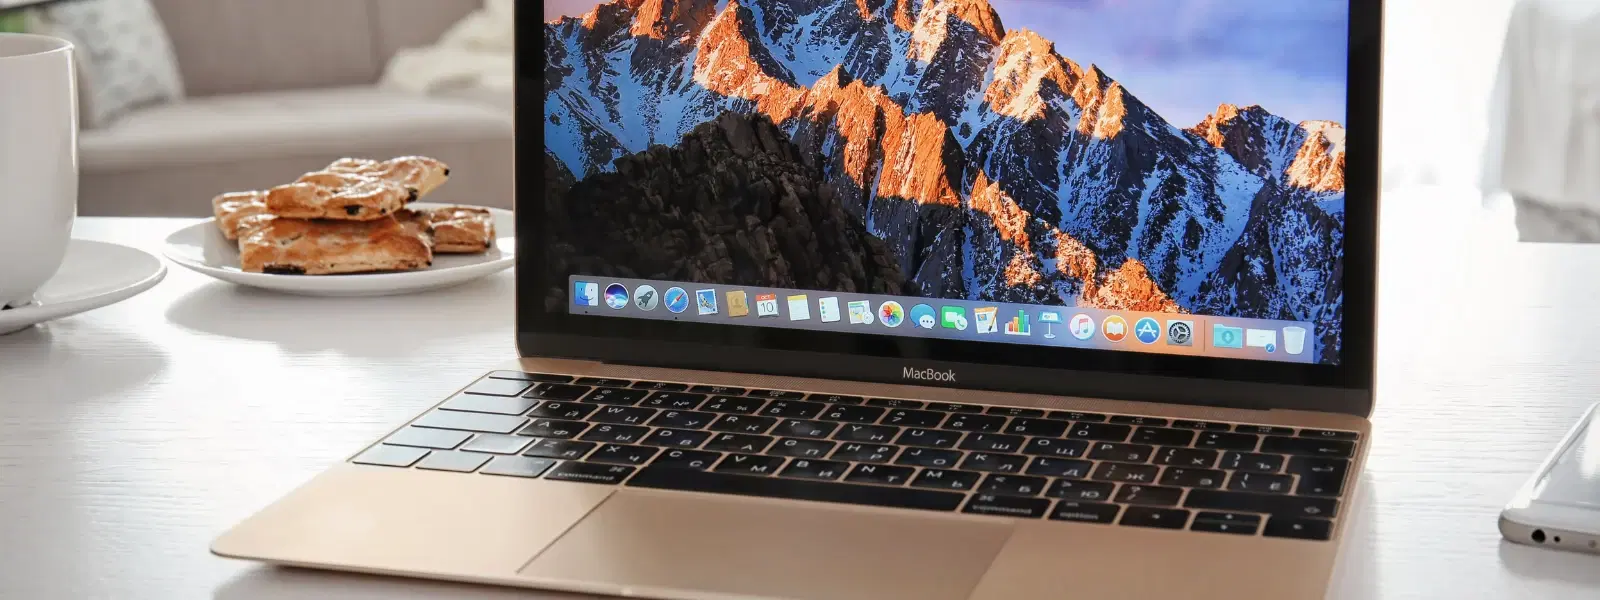
Once installed, open your terminal and type npm -v to verify the installation.
Homebrew is a popular package manager for macOS that makes installing software simple and efficient. Many Mac users prefer this method for its ease and reliability.
First, install Homebrew if you haven't already.
Open the terminal and run brew install node. This command installs both Node.js and npm.
Verify the installation by typing npm -v in the terminal.

<p><b>Enhanced Cleaning Technology</b><br/><br/>The MILAGROW 24W Robotic Vacuum Cleaner offers reliable wet and dry cleaning capabilities, which makes it an ideal choice for both home and office environments. Equipped with the enhanced NIDEC Brushless Motor, it delivers a powerful suction of 1500Pa, which ensures effective dirt and debris removal across various surfaces.<br/><br/><br/><b>Smart Navigation </b><br/><br/>Utilising cutting-edge Gyro Mapping technology, this robotic vacuum cleaner employs earth's gravity for optimal orientation and navigation. The rotor mechanism accurately measures rotation rates, which enables the device to stabilise and efficiently map out cleaning paths. It features four cleaning modes - smart, wall follow, spiral, and remote control – which allows for versatile cleaning strategies tailored to your space.<br/><br/><br/><b>Reliable Battery Life</b><br/><br/>Powered by a robust 2600mAh battery, this 24W vacuum cleaner boasts an optimum working time of up to 110 minutes. It can cover up to 1800 square feet on a single charge, which ensures comprehensive cleaning throughout your space without frequent interruptions. The 0.6-litre dustbin is designed to handle substantial dirt loads, while the 0.11-litre water tank facilitates effective wet cleaning.<br/><br/><br/><b>Efficient Filter System</b><br/><br/>Featuring a triple filter system which includes HEPA 12 filtration, this vacuum cleaner ensures the removal of most of the airborne particles as small as 0.3 microns. It effectively captures allergens, dust mites, mould spores, and even fine particles like smoke and bacteria, which creates a healthy environment in your home or office.<br/><br/><br/><b>User-Friendly Features </b><br/><br/>The MILAGROW vacuum cleaner affirms its reliability and safety for everyday use. Its user-friendly design allows for effortless operation and maintenance, which makes it an essential cleaning companion. With MILAGROW 9.0 Software Generation, it ensures optimal performance and user satisfaction.</b><br/><br/></p>
NVM (Node Version Manager) is great if you need to manage multiple versions of Node.js. Here’s how to set it up:
Install NVM by following the instructions on its GitHub page.
Use NVM to install a specific version of Node.js by running nvm install version.
This process bundles npm, allowing for a flexible node package manager Mac setup.
After installing npm, open your terminal and run npm -v. This command displays the current npm version. If you see an error or an unexpected output, consider checking the installation steps again or review system permissions.
Here are a few npm commands to get started:
npm install package-name – Install a package.
npm update – Update installed packages.
npm uninstall package-name – Remove a package.
These commands help you manage dependencies easily whether you are installing npm on macOS for the first time or updating your projects' libraries.
Pro Tip: Simplify Your npm Installation with Homebrew
Did you know that Homebrew can streamline your npm setup on macOS? By automating the installation process, Homebrew minimises errors and ensures you have the latest versions of Node.js and npm. If you are new to development, Homebrew is a great place to start.
You might encounter several issues such as permission errors or conflicts with previous installations. Here are some practical solutions:
If you face permission issues, try using sudo with your commands.
Clear the npm cache by running npm cache clean -f.
Ensure that you have the latest version of Node.js and npm, as outdated versions may cause conflicts.

<p>Danger can overpower you at any time and your voice will not be enough in such situations to get the required aid. The amazing new <strong>Juvo PSB01 Personal Alarm</strong> is crafted for all ages and is a necessary precaution from all kinds of danger. It rings a very loud alarm at 120 dB as well as flashes the torch to warn people nearby about a danger. Whether you have a medical emergency or you are attacked by predators your voice may not be heard but this alarm will be enough to deter attackers or draw attention of people close by to give you the immediate assistance required.</p> <p><strong>Extremely Easy To Use</strong></p> <p>The <strong>Juvo PSB01 Personal Alarm</strong> is small and portable, can be attacked to even a keychain if you want. To start the siren all you need to do is separate or pull the metal key chain from the main black unit. The siren may go on for 1 1/2 hours in case nobody heard it in the first minutes. This is very important for girls returning home alone at night as it acts as a security anti-attack panic alarm that is sure to scare off a molester. Its easy portability accentuates its use.</p> <p><strong>Lights Your Way</strong></p> <p>The little and portable <strong>Juvo PSB01 Personal Alarm</strong> also features a small LED torch that helps you find your way in the dark. Don’t be scared of dark alleys when you have this with you because it is equipped to save you from all dangers.</p>
Keeping npm updated is crucial for smooth performance. To update npm, run npm install -g npm@latest in your terminal. If you need to start afresh, you can also uninstall npm and Node.js completely, then reinstall using any of the methods detailed above.
You can install npm by downloading the Node.js installer or using Homebrew. Both methods install npm alongside Node.js automatically.
No, npm comes bundled with Node.js and requires it to run.
Using Homebrew is often the easiest. Simply run brew install node in the terminal and npm will be installed with Node.js.
Update npm by running npm install -g npm@latest in the terminal.
Check your system permissions, clear the npm cache using npm cache clean -f, and ensure your Node.js version is up to date.
Installing npm on Mac doesn’t have to be a complicated process. By following the steps outlined in this guide, you can install, verify, and troubleshoot npm on your macOS device confidently. Whether you choose to install Node.js and npm on Mac using the Node.js installer, Homebrew, or NVM, you now have a reliable setup to start managing your projects efficiently. As you continue your tech journey, remember that platforms like Tata Neu offer additional support with NeuCoins rewards, express delivery options, and expert guidance to make your tech shopping experience as seamless as possible.
