Consumer Electronics
•04 min read
Tired of unreliable Wi-Fi connections? A wired Ethernet connection might just be the solution you need for faster and more stable internet. In this detailed checklist, you will learn how to connect Ethernet to your laptop, even if your device lacks a built-in port. With clear steps and handy troubleshooting tips, you can achieve a seamless laptop Ethernet connection and enjoy a more reliable wired internet experience.
Before you begin, make sure you have all the necessary equipment. Generally, you will need an Ethernet cable, your laptop, and a working router or modem. If your laptop does not have an Ethernet port, consider investing in a USB-to-Ethernet adapter or a docking station. These accessories make it easy to achieve a laptop wired internet connection, and they are designed to offer both efficiency and stability.
Not all Ethernet cables are created equal. Options like Cat5 and Cat6 cables are available, but a Cat6 or higher cable is typically recommended for most users, as it supports high-speed internet and offers improved stability. When picking your cable, ensure that it is compatible with your laptop and your internet speed requirements. For many, using an Ethernet cable with a laptop not only guarantees faster connections but also reduces lag during activities like gaming or video conferencing.
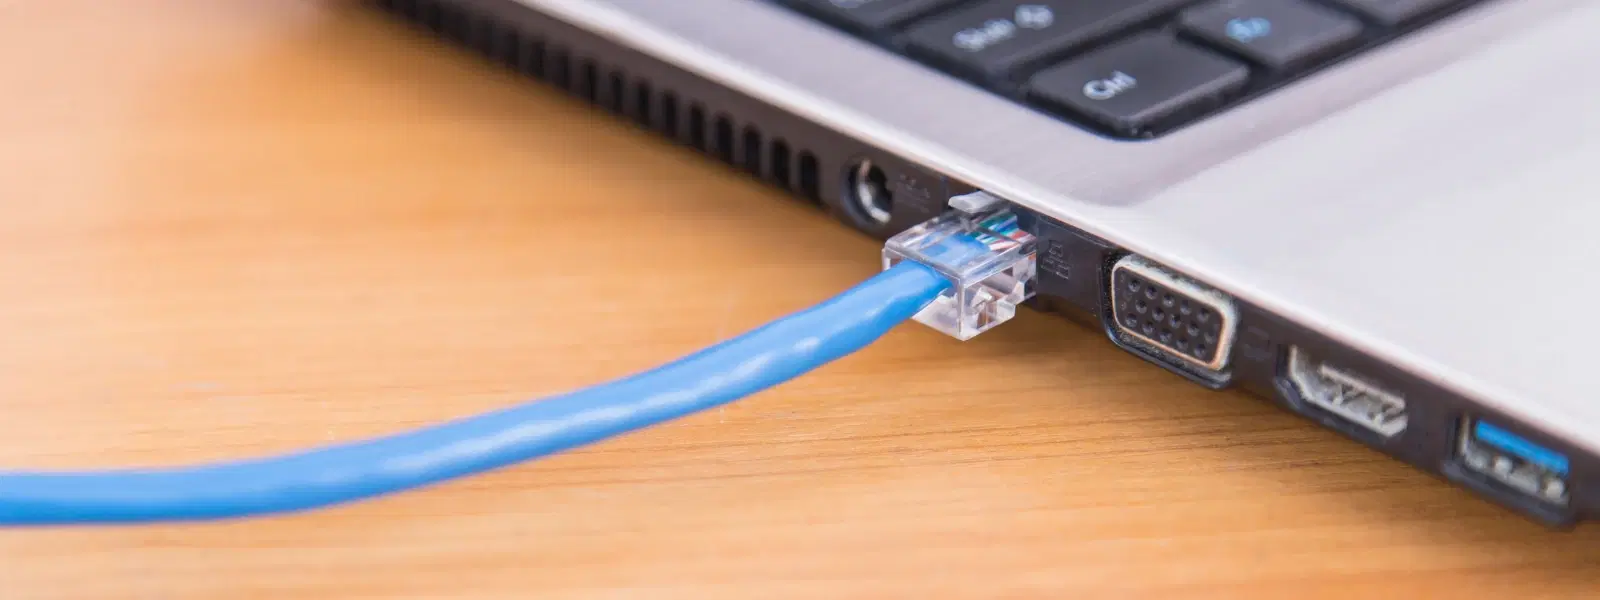
Most laptops that come with an Ethernet port have a rectangular socket, usually located on the side or back of the laptop. However, many modern laptops design prioritise portability and might omit this feature. If you already see a port resembling a slightly wider phone jack, you have found it. Otherwise, if your laptop does not include one, do not worry; there are alternatives available.
For laptops that are missing a built-in Ethernet port, a USB-to-Ethernet adapter or a docking station offers a reliable workaround. When selecting an adapter, look for one with good technical reviews and reliable after-sales support. This ensures that the transition to a laptop Ethernet connection is smooth and that the setup remains stable over time.
Now that you have everything ready, follow these steps to plug in the Ethernet cable. Start by inserting one end of the cable into the router or modem and the other end into your laptop's Ethernet port or the adapter. Be sure to handle the cable carefully to avoid any damage. If using an adapter, plug the adapter into the appropriate laptop port before connecting the cable.
After securely connecting the cable, it's time to configure your network settings. On Windows 10 or 11, open the Network Settings and ensure that the Ethernet connection is enabled. For macOS users, head to the System Preferences and then to Network to check the connection status. These steps ensure your laptop prioritises the wired internet connection over Wi-Fi, resulting in a more reliable and faster experience. This step-by-step approach makes it easy to setup Ethernet on laptop devices, even for those not familiar with advanced networking settings.
Pro Tip: Maximise Your Ethernet Speed
Ensure your Ethernet cable is securely connected to both your laptop and router. For the best performance, opt for a Cat6 or higher cable and check your internet plan’s speed compatibility.
If you encounter issues while establishing a laptop wired internet connection, start by checking the Ethernet cable for any visible damage or wear. Examine the port and adapter to ensure they are securely connected. Additionally, verify that the router or modem is functioning properly. This simple diagnosis can often reveal whether the issue lies with the hardware or the settings.
Should problems persist, reset your network adapter or try unplugging and reinserting the Ethernet cable. Both Windows and macOS offer built-in network troubleshooters that can help identify and resolve issues. Advanced users might also consider reinstalling network drivers or performing a network reset. These steps assist in re-establishing a stable and high-performance connection, ensuring that you get the most out of your wired setup.
Switching to a wired internet connection has multiple advantages. Ethernet offers faster speeds, lower latency, and significantly improved reliability compared to Wi-Fi. For scenarios such as online gaming, video conferencing, or downloading large files, using an Ethernet cable with a laptop provides the steady and high-speed performance that mobile internet connections may not deliver consistently.
While Ethernet is excellent for performance, there are times when Wi-Fi is more practical. For instance, if you need mobility or you are in an area without an available Ethernet outlet, wireless connectivity comes to the rescue. Knowing when to use each connection type can help you adapt to various scenarios without compromising your online experience.
Enjoy this robust connectivity system with the added benefit of NeuCoin earn opportunities exclusively on Tata Neu. Every time you use Tata Neu for your shopping, you earn valuable NeuCoins that can be redeemed across your favourite brands. Whether shopping for gadgets or home appliances, the seamless and rewarding experience enhances your digital lifestyle. This emphasises how technology and smart connectivity can come together while also reaping special benefits.
Use a USB-to-Ethernet adapter or a docking station to connect the Ethernet cable to your laptop.
Yes, Ethernet cables work on laptops that have an Ethernet port or are equipped with an adapter for Ethernet connectivity.
Plug in the Ethernet cable, go to Network Settings, and ensure the Ethernet option is enabled. It should automatically detect the connection.
Yes, although your laptop will typically prioritise one connection over the other. You can configure network settings to manage both if needed.
A Cat6 or Cat6a cable is recommended for most laptops to ensure high-speed and stable connections.
To summarise, achieving a reliable wired internet setup on your laptop involves a few straightforward steps. First, gather the essential equipment including an Ethernet cable, laptop, and either a built-in port or a proper adapter. Next, locate the Ethernet port or set up an alternative connection, and carefully plug in the cable. Configuring your network settings ensures that your laptop favours the wired connection over Wi-Fi, delivering enhanced performance. Lastly, troubleshooting common issues can save you from connectivity headaches and guarantee a stable network.
This checklist not only guides you to transform unstable connections into seamless ones but also highlights the benefits of a laptop Ethernet connection for gaming, streaming, and work-from-home setups. Coupled with Tata Neu’s rewarding NeuCoin system, every purchase you make adds value to your wallet while enjoying top-notch connectivity solutions.
