Consumer Electronics
•05 min read
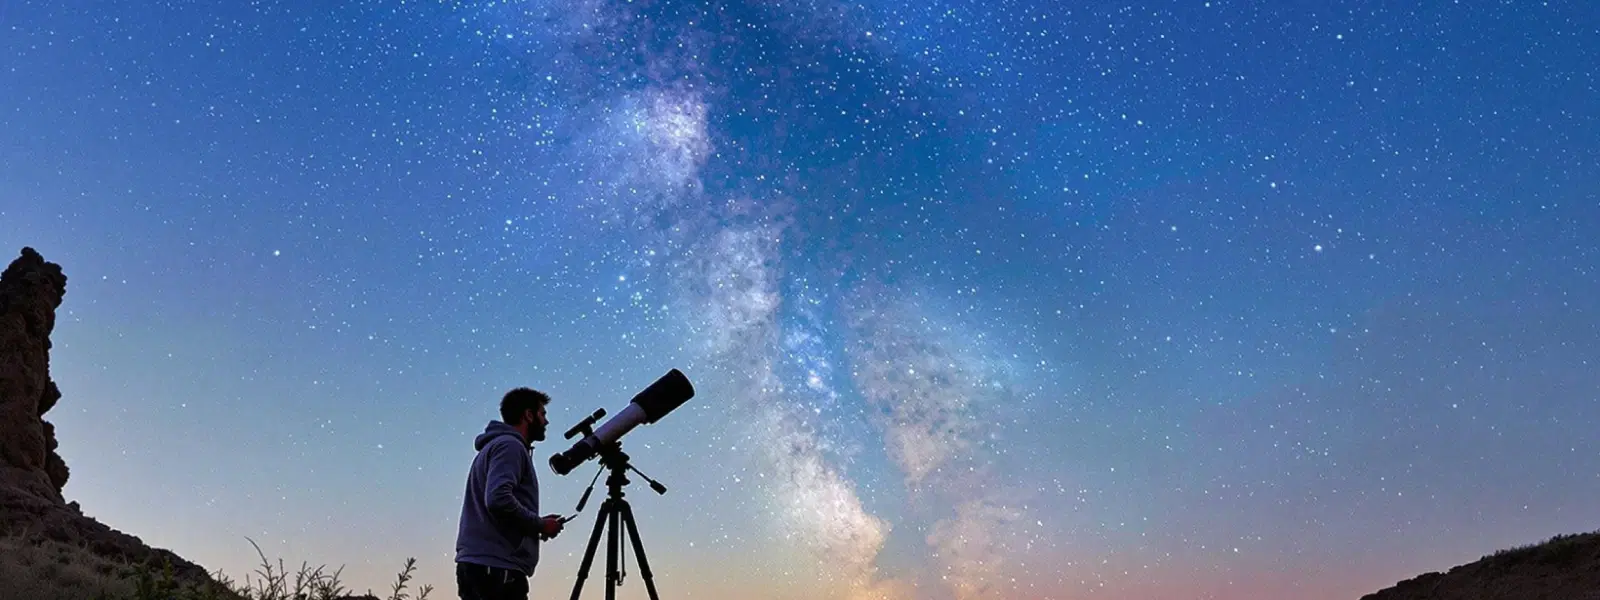
Capturing the night sky in all its glory is a dream for many photographers, but achieving that perfect shot often comes down to one key question: what matters more—your camera settings or ISO? When you purchase your photography gear from Tata Neu, you earn valuable NeuCoins to use across your favourite brands. In this guide, we explore the intricate world of astrophotography settings and delve into how ISO can influence your images. Whether you're a tech enthusiast, a family looking to capture beautiful moments, or a young professional investing in productivity-boosting gadgets, this article is designed to help you master the art of night sky photography.
Astrophotography settings are adjustments made on your camera to capture the beauty of the night sky effectively. These settings include important elements such as shutter speed, aperture, ISO, white balance, manual focus, and exposure. Each of these components plays a vital role in balancing the light and ensuring that the stars, the Milky Way, and other celestial features are captured with clarity and vibrancy. These tips apply to various devices, including smartphones like Android and iPhone, expanding your options for capturing stunning night skies.
Correct settings can make or break an astrophotography shot. Shooting in low light comes with unique challenges, such as light pollution and the inevitable noise that can obscure details. By understanding and fine-tuning your camera settings, you can overcome these hurdles and create images that truly reflect the splendour of the night sky.
Shutter speed is crucial when it comes to capturing stars and the vast expanse of the Milky Way. A longer shutter speed can gather more light, but it may also introduce star trails if not carefully controlled. The 500 Rule is a popular guide among astrophotographers, where you divide 500 by your lens's focal length to determine the maximum shutter speed that avoids trailing effects. This follows the widely accepted 500 Rule in astrophotography guidelines, ensuring accuracy and clarity in your shots.
A wide aperture is essential in astrophotography as it allows more light to hit the sensor, which is particularly important when shooting the night sky. A lower f-number not only helps in gathering light but also contributes to the overall brightness of your images. However, while a wide aperture enhances brightness, it is important to keep an eye on the sharpness of your shots, as too wide an aperture can sometimes affect detail.
In low-light conditions, achieving accurate focus can be challenging. Manual focus becomes indispensable in astrophotography, allowing you to adjust the focus ring until the stars appear crisply defined. Using your camera's live view and zooming in on a bright star can be a practical method to ensure your focus settings are precise.
ISO controls your camera's sensitivity to light. A higher ISO setting makes the sensor more sensitive, which is helpful in dark environments. However, increase the ISO too much and you risk introducing digital noise into your image. ISO settings work in tandem with shutter speed and aperture, forming the cornerstone of the so-called exposure triangle.
The recommended range for ISO in astrophotography typically falls between 1600 and 3200. Urban areas with significant light pollution might require a lower ISO to maintain clarity, whereas dark, rural skies can often accommodate a higher ISO for better exposure. It is all about finding the best compromise between capturing sufficient light and keeping image noise to a minimum.
Balancing ISO with other camera settings is crucial for optimising your astrophotography results. This equilibrium is often described using the concept of the exposure triangle: the interdependent relationship between shutter speed, aperture, and ISO. Experimenting with these settings according to your shooting conditions will help you discover the sweet spot that results in perfectly exposed images.
Fundamental camera settings such as shutter speed, aperture, and manual focus provide the necessary framework for capturing stunning night sky images. Even if you select the perfect ISO, incorrect settings in these areas can result in a subpar photograph. Attention to detail in each aspect is essential for ensuring every shot truly shines. When you shop for cameras on Tata Neu, you can also enjoy express delivery for orders placed before 6 PM, ensuring you’re ready to shoot without delay.
While the other settings lay the groundwork, ISO can sometimes be the deciding factor, particularly in extremely dark conditions. Careful adjustments to ISO can compensate for the limitations of other settings and can provide the extra light needed for detailed captures. The key is to manage the trade-off between sensitivity and noise effectively.
The truth is that both camera settings and ISO are crucial, and their relative importance varies depending on the shooting conditions and your creative goals. In some situations, prioritising manual adjustments of the shutter speed, aperture, and focus may be the key, while in others, a slight tweak to the ISO can make all the difference. A quick decision-making guide would be to first set your base parameters with shutter speed, aperture, and focus, then adjust your ISO to fine-tune the exposure for a balanced, detailed image.
Expert Tip: The Golden Rule of Astrophotography
Did you know? The '500 Rule' is a quick way to determine the maximum shutter speed for capturing sharp stars. Simply divide 500 by your lens's focal length to avoid star trails. For example, with a 20mm lens, your shutter speed should not exceed 25 seconds. These guidelines are based on common practices within modern astrophotography, ensuring reliability.
Achieving the perfect exposure when capturing the night sky is a matter of balancing all the settings. Shooting in RAW format is highly recommended as it provides greater flexibility during post-processing, allowing you to fine-tune exposure and correct any issues related to brightness or contrast.
Setting the right white balance is critical for ensuring that your night sky photos look natural. While your camera may not always get it right in low-light conditions, capturing your images in RAW allows you to adjust the white balance later. This flexibility ensures that the true colours of the sky are maintained.
Long exposure techniques can reveal incredible details in the night sky. Using a sturdy tripod and a remote shutter release can significantly minimise camera shake and vibrations during long shots. Additionally, incorporating a light pollution filter can further enhance your images by reducing the interference from ambient light sources.
A stable tripod is indispensable in astrophotography. Even slight movements can compromise the sharpness of your final image. Ensure your tripod is firmly placed, and consider using a remote or timer function to capture your shot without disturbing the setup.
The best settings generally include a wide aperture (f/2.8 or lower), a high ISO (usually in the range of 1600–3200), and a shutter speed determined by the 500 Rule to avoid star trails.
The 500 Rule is a guideline to calculate the maximum shutter speed that avoids capturing star trails. Divide 500 by your lens's focal length; for instance, with a 20mm lens, aim for a shutter speed around 25 seconds.
The ideal ISO setting typically falls between 1600 to 3200, though it depends on your camera’s sensitivity and the surrounding light pollution.
Shutter speed is determined by your lens’s focal length and adhering to the 500 Rule; wide-angle lenses allow for slightly longer exposures, usually between 15–30 seconds.
To optimise your smartphone for astrophotography, use built-in manual camera settings or dedicated apps to control shutter speed, ISO, and focus. A tripod and remote shutter also enhance stability and reduce vibrations, ensuring clearer images.
Astrophotography is a delicate dance between mastering your camera settings and leveraging ISO to its fullest potential. By understanding the roles of each component and how they interact, you can capture breathtaking images of the night sky that truly shine. Experiment, be patient, and let the stars guide your creativity as you refine your techniques and explore new possibilities in camera settings for astrophotography. With Tata Neu, you not only access expert support but also enjoy benefits like NeuCoins rewards and express delivery, making your astrophotography journey seamless and rewarding.
