Home Appliances
•04 min read
(63)-c5fe0bca-9213-4d7b-9b08-9b71581895d4.png&w=3840&q=75)
Looking to improve air circulation in your home while keeping energy costs low and noise levels minimal? Installing a window exhaust fan can be a game changer. This guide aims to demystify the process, equipping you with the step-by-step know-how to install a window-mounted fan with ease and confidence. With expert tips along the way, you’ll soon be enjoying improved indoor air quality, efficient temperature regulation, and enhanced comfort throughout your home.
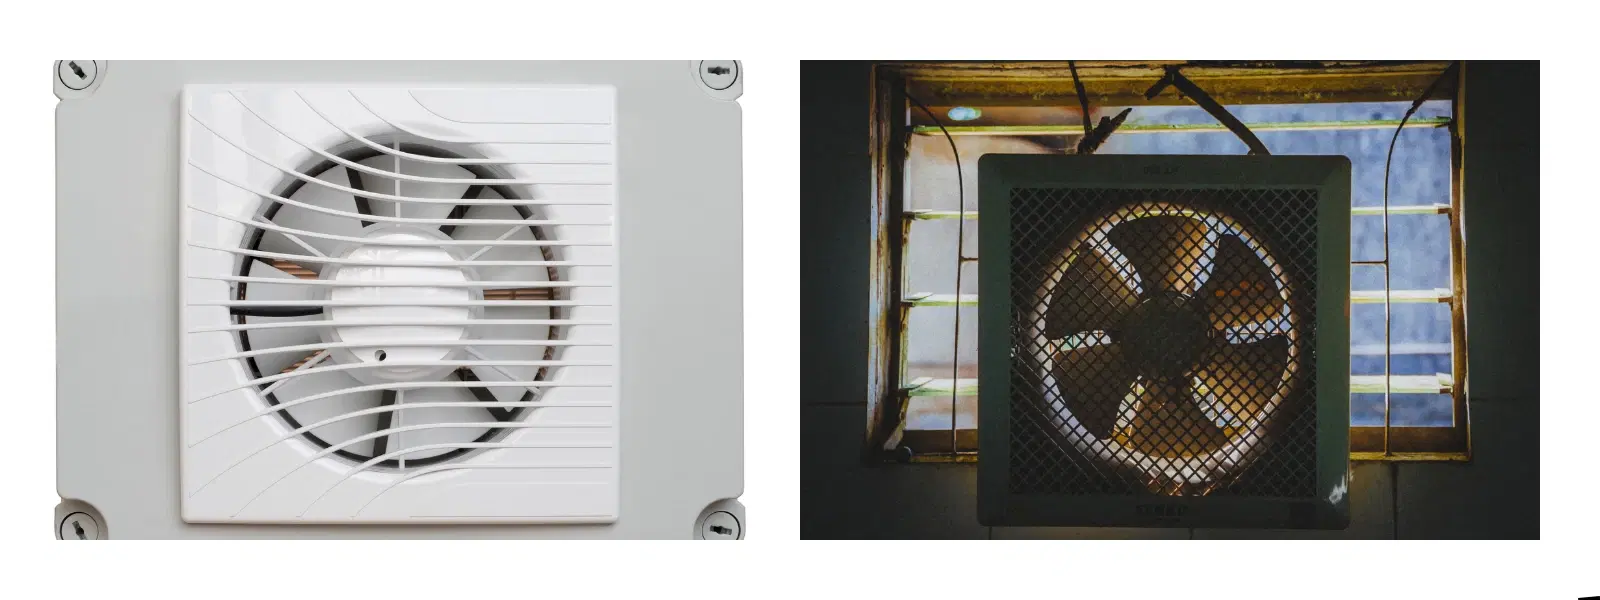
A window exhaust fan is a device engineered to pull stale air out from inside a room, allowing fresh air to circulate. Unlike a typical ventilation fan that circulates air within the space, a window exhaust fan specifically expels indoor air outdoors, making it an excellent choice for removing odors and reducing excess moisture.
This type of fan is designed to fit securely within most window frames, converting a standard window into an effective air circulation system. As opposed to wall-mounted solutions, a window-mounted fan provides a convenient and space-saving solution, and is often chosen for its ease of installation and operation.
The advantages include energy efficiency, quiet operation, and simplicity in installation. Whether it's for your kitchen exhaust fan needs, a bathroom ventilation fan to reduce humidity, or generalized air circulation in living areas, these appliances offer versatile performance. Their energy-efficient attributes ensure that they not only help maintain a comfortable home environment but also contribute to lower utility bills over time.
Window exhaust fans come in various models, such as adjustable exhaust fans with adjustable speeds, quiet exhaust fans designed for minimal sound output, and energy-efficient exhaust fans that focus on delivering optimal cooling while consuming low power. Additional features may include remote controls, reversible modes, and built-in thermostats, providing enhanced control and adaptability to your room’s specific needs.
Before you start, proper preparation is key. A little planning and the right tools will make the installation process smooth and hassle-free.
You’ll require a standard set of tools including a screwdriver, measuring tape, and cleaning supplies, as well as mounting brackets and screws that come with your fan. Ensure that you choose the fan appropriate for your window type and size to secure the best fit and optimal efficiency.
(62)-2400b85f-37c9-45ca-ba90-0062b98a389e.png&w=3840&q=75)
Your safety is paramount. Always remember to switch off any electrically connected systems before beginning the installation. Ensure that the installation area is well ventilated and that you handle the components carefully. Taking a few extra moments to follow safety protocols can prevent unwanted mishaps.
Selecting the best window for your installation is essential. Ideally, choose a window that enhances airflow and is easy to access for periodic maintenance. For specific needs, such as in kitchens or bathrooms, prioritize windows where substantial stale air accumulates and where additional ventilation is most beneficial.
Now that you’re prepared, let’s break down the installation process into easy-to-follow steps.
Start by accurately measuring the dimensions of your window to ensure a secure fit for your fan. Thoroughly clean the window area, ensuring no dust or residue might impair the fan's installation. If your window has shutters or screens, remove or adjust them as necessary to create a smooth working surface.
Attach the provided brackets or mounting hardware to the window frame. Whether you have a single-hung or sliding window, follow the installation instructions carefully to adjust the hardware appropriately. This step is crucial to ensuring that the fan remains secure and stable once in place.
With the mounting hardware in place, position your window exhaust fan into the opening. Ensure that it fits snugly and is level, as misalignment could affect its performance. Carefully connect the fan to the power source and perform a quick test run to confirm that it operates as expected.
Once the fan is functioning, make any necessary adjustments such as setting the fan speed, choosing the direction of airflow, or configuring a built-in thermostat, if available. Regular maintenance tips include periodic cleaning of the fan and replacing filters or motors when needed to maintain optimal performance.
Pro Tip from Tata Neu
Did you know that installing an energy-efficient exhaust fan can lower your energy bills while substantially improving indoor air quality? Consider choosing a fan with adjustable speeds and a built-in thermostat for enhanced control and maximum comfort.
-2b880b8d-429c-416a-8559-c2de7c8d7052.png&w=3840&q=75)
No installation is completely without hiccups. Here are some common issues and tips on how to address them.
Occasionally, you may face challenges such as an improper fit, unexpected noise during operation, or difficulties connecting the fan to a power source. Ensure that all measurements are correct, double-check that mounting hardware is secure, and verify that power connections are safe. Should the noise persist, inspect for loose parts or misalignment that may be causing vibrations.
Regular cleaning and maintenance can extend the life of your fan and optimise its performance. Clean the fan blades and filters on a regular basis to prevent dust buildup. If the fan has replaceable parts such as filters or motors, keep a record of the maintenance schedule and replace them as needed. This proactive care will ensure efficient and enduring performance for your indoor air quality fan.
Yes, window exhaust fans are an excellent investment. They improve indoor air quality, reduce unpleasant odours, and help maintain a comfortable environment. The ease of installation and energy efficiency make them a popular choice in many homes.
Absolutely! A window-mounted fan is specifically designed to be installed in a window. Its design ensures secure placement and effective ventilation without the need for extensive modifications.
While both serve to circulate air, a ventilation fan recirculates air within the same space, whereas an exhaust fan removes stale or polluted air from indoors and expels it outside for a fresher indoor environment.
This guide has taken you through the essentials of selecting, installing, and maintaining a window exhaust fan. By following these detailed steps, you can enhance air circulation, reduce the buildup of stale air and odors, and create a more comfortable living space. Remember, a well-installed fan not only improves air quality but also contributes to an energy-efficient home environment. Enjoy the benefits of a carefully maintained product and explore further solutions to upgrade your home comfort with smart, efficient appliances.
