Consumer Electronics
•04 min read
(15)-937aaf4b-b214-4ac3-a81c-a828a88960b9.png&w=3840&q=75)
Have you ever stared up at the vast, velvety night sky, mesmerised by the twinkling stars, and wished you could capture its breathtaking beauty? Astrophotography lets you do just that. This guide walks you through nine practical tips for shooting stunning photos of the cosmos. Whether you are a beginner or a seasoned photographer, you will find clear advice to help you master night sky photography and truly bring out the celestial wonders.
Astrophotography is the art of capturing images of celestial objects and phenomena, including stars, planets, the moon, and the deep sky. It comes in many forms such as stars photography, lunar photography, and deep sky imaging. The right equipment plays a crucial role in this craft. A reliable camera, sturdy tripod and versatile lenses are essential. For beginners, even smartphones today come with advanced low-light capabilities, making entry into astronomy photography easier than you might think.
Best Cameras and Lenses for Astrophotography
Using a camera with manual control will let you experiment with settings such as shutter speed, ISO, and aperture. Wide-angle lenses are ideal for capturing the expansive Milky Way, while telescope adapters become essential when you venture into deep sky imaging.
Finding a location with minimal light pollution can make a significant difference. Use apps or maps dedicated to tracking dark skies and consider the moon phases, as a new moon offers the best conditions for capturing fainter stars. The timing of your session is also key. The 500 rule, which helps you decide on a proper shutter speed for long exposure photography, is a simple way to avoid star trails while keeping the stars sharp.
Pro Tip: Plan Your Shots Like a Pro
Using apps such as Stellarium or PhotoPills can help you predict star positions, moon phases and meteor showers. This planning ensures that you are in the best spot at the right time for flawless celestial photography.
Shooting in manual mode gives you full control over the settings that can make or break your image. Adjusting your ISO, shutter speed, and aperture is key. For many stars photography scenarios, settings in the range of ISO 3200 to 6400 and an aperture between f/2.8 and f/4 work well for capturing the night sky without loss of detail.
Shutter Speed, ISO, and Aperture Demystified
Understanding how each of these settings impacts your shot is essential. Faster shutter speeds can help to reduce noise while longer exposures bring out more stars – just remember to stick with techniques like the 500 rule to avoid unwanted blur.
(14)-e040417b-ae03-474d-80a9-a83ec2362672.png&w=3840&q=75)
Focusing in low-light conditions can be challenging. Try using your camera’s live view feature, set your focus to infinity, or use a nearby bright star or distant light as a reference. These simple techniques can dramatically improve the crispness of your celestial images.
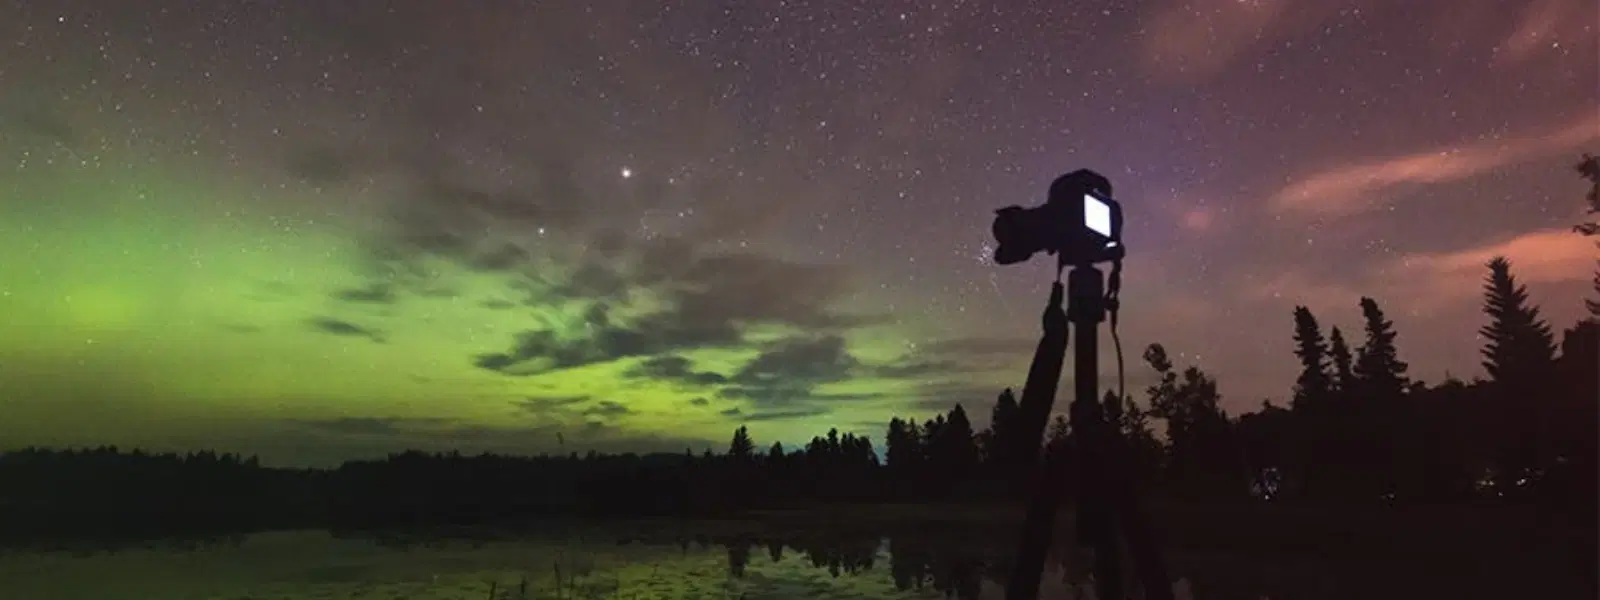
When framing your images, consider integrating interesting foreground elements such as silhouettes of mountains, trees or buildings. This adds depth and meaning to what could have otherwise been a plain shot of the sky. Experimenting with long exposure photography enables you to create stunning star trails or to capture the vibrant detail of the Milky Way.
Did You Know? Composition is Key
Adding a thoughtful foreground can transform a simple night sky image into an extraordinary story of nature. Look for interesting shapes, reflections, and silhouette elements that complement the celestial canvas above.
Editing is often the final, vital step in astrophotography. Tools like Adobe Lightroom or Photoshop can help you bring out the hidden details in your images – from the subtle colours of the Milky Way to the brilliance of distant stars. Adjusting contrast, reducing noise and fine-tuning colours are indispensable techniques when it comes to fine-tuning your shots without overprocessing them.
For those interested in more advanced work, software such as Starry Landscape Stacker or DeepSkyStacker may be very useful when dealing with deep sky imaging. These tools are designed to enhance the clarity and detail of images, providing a polished final result.
No art comes without its challenges, and astrophotography is no exception. Weather variations and light pollution are common hurdles. Having an alternative plan for indoor or cloudy conditions, and investing in light pollution filters, can help provide a workaround when nature does not cooperate.
Patience is an essential part of the process. Every great photographer refines their skills through trial and error. Embrace the learning curve and enjoy every step of your journey. Much like earning NeuCoins rewards on Tata Neu with every thoughtful purchase, every effort you make in your photography practice brings you closer to capturing that perfect shot.
(15)-b5fa4880-d486-4764-8175-9a057ca68a14.png&w=3840&q=75)
An astrophotographer captures images of celestial objects like stars, planets and galaxies using techniques tailored for low-light conditions.
The 500 rule helps calculate the maximum shutter speed to avoid star trails. Simply divide 500 by the focal length of your lens to keep the stars crisp and clear.
Begin with basic equipment such as a DSLR or a capable smartphone, paired with a sturdy tripod and a remote shutter. Learning to shoot in manual mode will help you adapt to different night sky conditions.
Absolutely. Many professionals specialise in capturing celestial events for artistic, scientific or commercial purposes.
Yes, many modern smartphones offer dedicated astrophotography modes. A tripod can help stabilise your phone, leading to improved results in low-light conditions.
Astrophotography is both a science and an art that marries technical skill with boundless creativity. By following these nine tips, you have a clear roadmap to capture everything from the sparkling stars to the dazzling Milky Way. With each session, you learn and innovate, much like the evolving benefits of Tata Neu, where every transaction not only rewards you with NeuCoins but also transforms how you experience shopping. Explore, learn and let your passion for the night sky guide your photographic journey.
